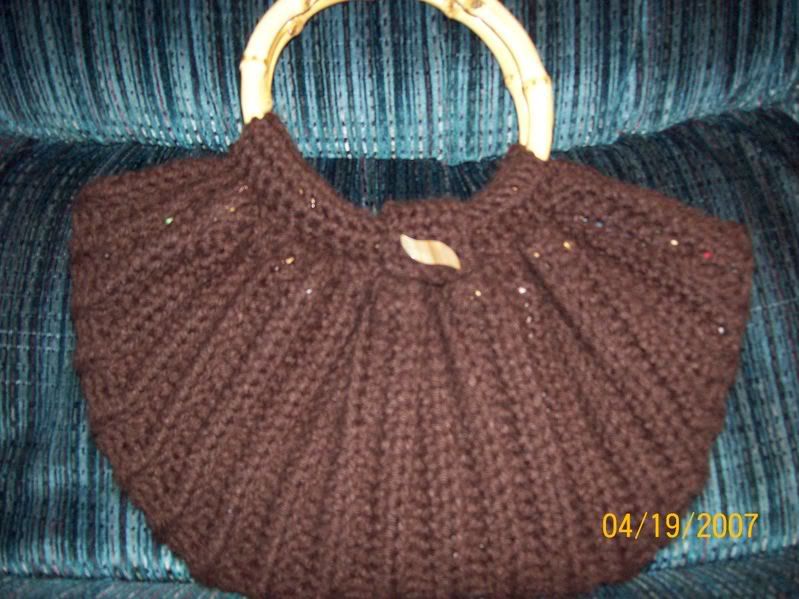
Can I just tell you that this is my favorite one so far? I have to thank
Elaine for the most wonderful tutorials for making the FBB. She takes you from start to finish with 7 videos on
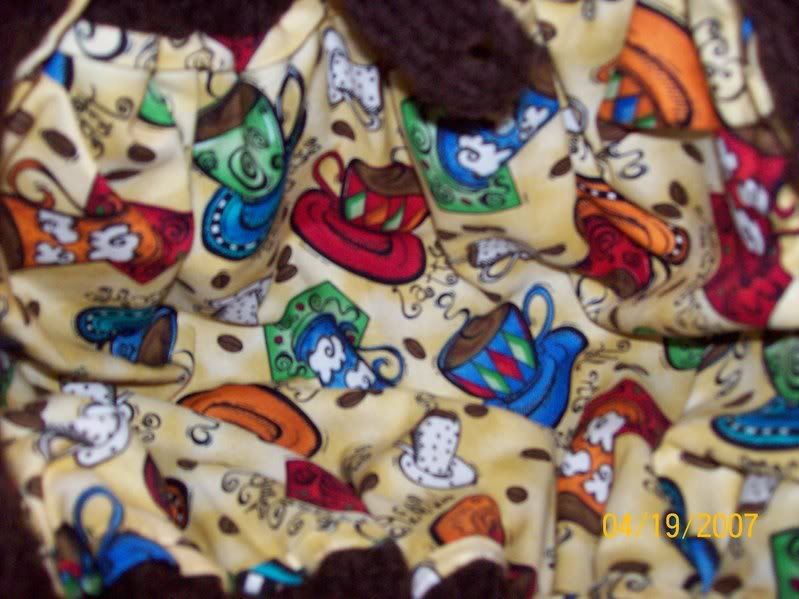
YouTube that are awesome. Only thing is that unless you speak Portuguese, you'll have to grasp the concept with the wonderful visuals. I love the way she uses plastic tubing for the purse handles. I went to Wal-Mart's pet section and bought an aquarium vacuum kit for about $5 and some additional tubing in a smaller size for about $3. I can get 2 sets of handles from this. It's not much cheaper than buying ready made handles but I like the crochet covered handles, and that they don't slide around and are much more comfortable to hold. I will have to try Home Depot to see if I can find this tubing cheaper. I did wind up having to use some tape to close the gap but it's not noticeable at all. I also prefer her method of lining the bag after the handles are done. The tutorial linked to on Crochetville was great for my first couple of bags but I wasn't really satisfied with the result because I couldn't get the lining as close to the edges as I would have liked. Sure, having to sew the lining in by hand is much more tedious but produces a much better product, in my opinion. As you can see from the picture, the inside of the bag is just as pretty as the outside. The lining fits perfectly. I wanted to use a magnetic snap closure but wouldn't you know it, I couldn't find it. I didn't want to wait until tomorrow so I went ahead and used the crochet flap and button on the back. It works and isn't ugly.
I used the free pattern on the LionBrand site for the crocheted roses. I know these don't match the lining but I wanted to try them out. I had a few minutes to wait in the doctor's office this afternoon and they're super fast to make. I do have some matching lime green, orange and purple yarn that I can make flowers with, but just haven't done it yet. I sewed safety pins to the backs of the roses so that they're removable.
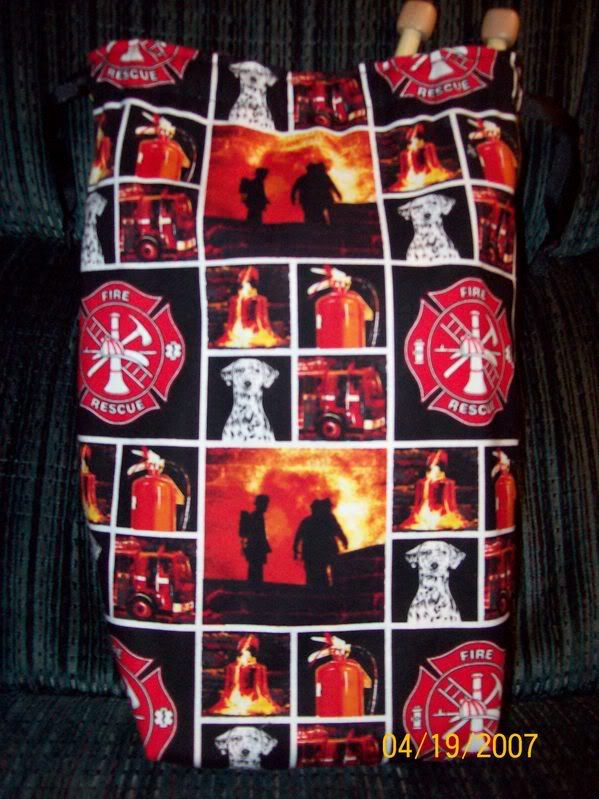
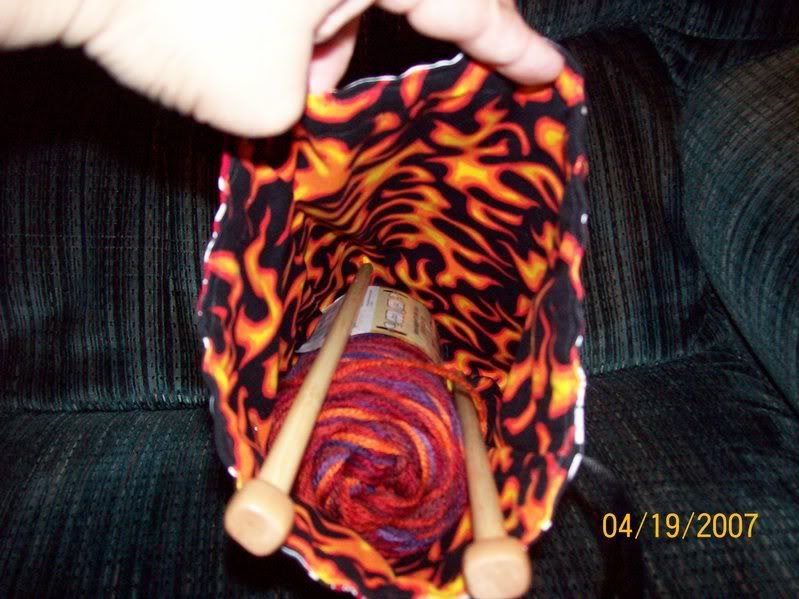
Also, I just got the most wonderful package from my sister, Gina. She sent me these great vintage inspired Hawaiian print fabrics. I originally intended to use them for more knitting project bags but now I see FBB lining whenever I look at any fabric! It takes just a smidge less than a fat quarter to line one of these beauties. The most I've spent so far to make one is about $11.00. This black one cost me about $8.00. If I can get the tubing cheaper, it might just take the cost down to $5.00. We'll see. I'm using Red Heart Super Saver acrylic for the body of the bag and an I sized hook. I used almost the whole skein since I covered the handles with crochet. I bought a pack of fat quarters at Joann Crafts for about $1 each piece. The only other expense would be matching thread if it's a color I don't already have. That's why I like black! I wonder if I could machine sew the liner in if I used a zipper foot? Although, it really wasn't that bad to hand sew it in.
I'm now trying to decide which color to do next. I think I'll do a green to match the pineapple print fabric that Gina sent me. Susan, if you're reading this, I think the original pattern was written for cotton yarn and I think a deep green would be beautiful! Since I still have yet to see the actual pattern, I don't know much more about it.
On to check out my yarn stash!