I saw this idea in Pinterest. There are several fruits/veggies you can grow this way by putting a slice, pit, root end, etc in water rather than throw them away. I think we all did this with potatoes, avocados, or beans when we were kids, right? I bought these green onions at a local farmer's market three weeks ago and have already cut them down three times!
Friday, August 10, 2012
Saturday, August 04, 2012
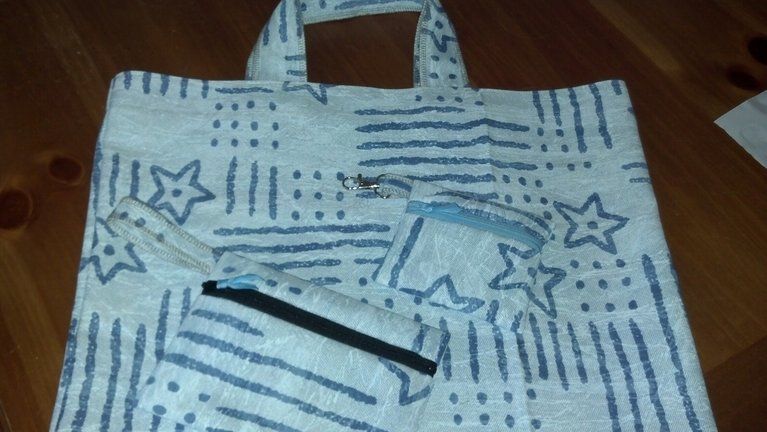
Tote bag and zippered pouches
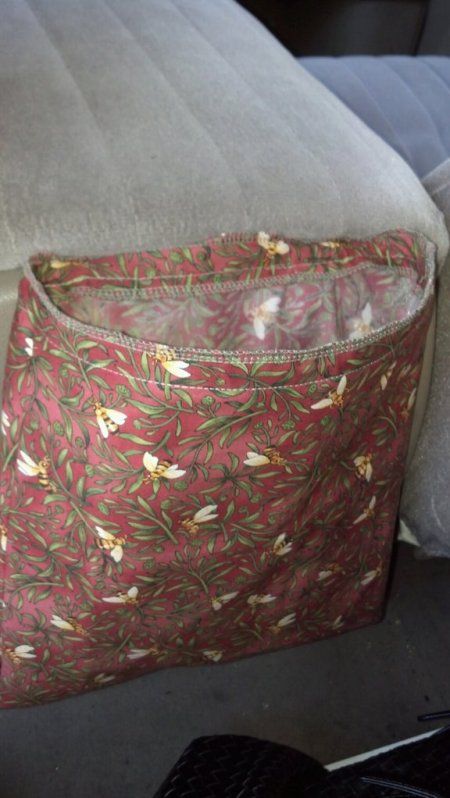
Car trash bag
Sunday, July 01, 2012
Crochet Baby Barefoot Sandals
The following are just my notes & not a pattern:
Using sz 3 crochet thread & sz D (3.25 mm) hook, Ch 8. Join.
Ch 3, 2dc in loop, turn
Ch3, dc in same st. Dc in next st. 2dc in top of ch3 from previous row. Turn.
Continue inc in this manner until last row is made of 9 dc. Ch 36 and cut thread. Join @ top of other side & ch 36. Cut thread. Weave in ends. Make 2 flowers and attach to top of feet.
Flowers: ch 8 and sl st in 1st ch. Ch 8 and sl st in same ch. Repeat until you have 8 loops. Cut thread and pull end through center of flower. Pull tail until center closes almost closed. Make another flower this way but only ch 6 instead of 8. Pull tail tightly closed, stack atop larger flower and feed tails through larger flower then pull larger center tightly shut. Attach to top of sandal. Repeat for other sandal.
Saturday, June 16, 2012
New phone
Just got a new Motorola Droid 4 today. Just playing around on it. Things I hate about getting a new phone are that I have to reinstall my apps and ringtones. I passed my phone down to my eldest son because he broke his and isn't due for an upgrade for awhile. At least I can see what apps I had before he totally wipes my old phone clean!
Friday, June 01, 2012
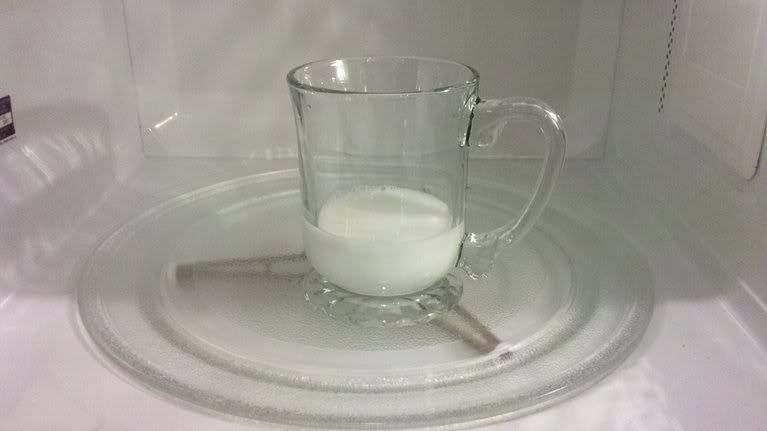
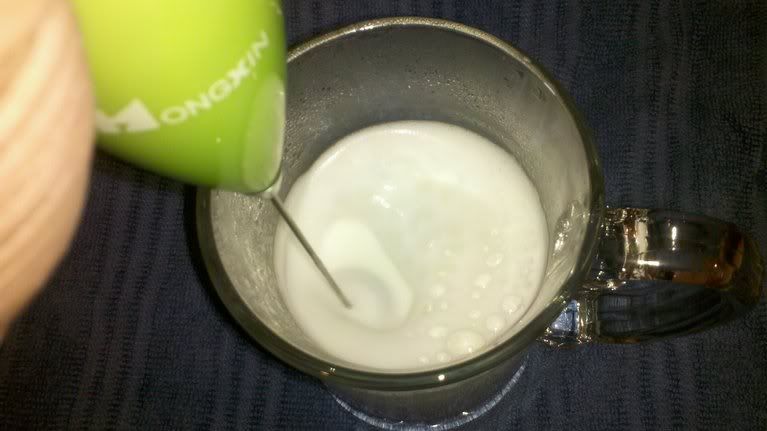
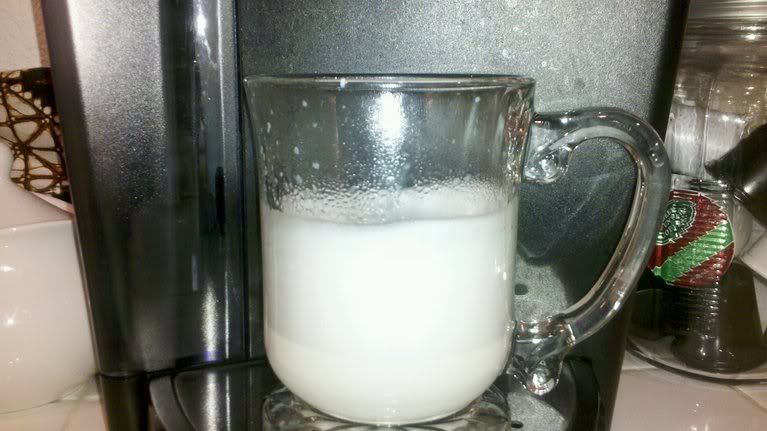
How to make a cafe latte with your existing Keurig without buying the new Vue!
Step 1: Pour about an inch of milk in the bottom of your coffee cup and microwave for 40 seconds.
Monday, March 26, 2012
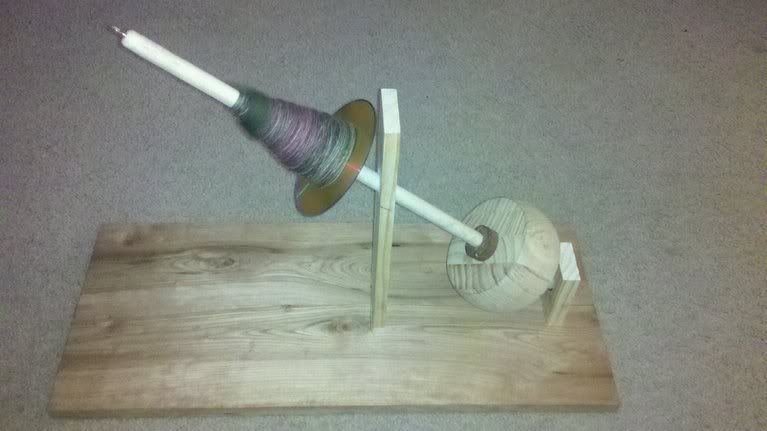
A new DIY Kick Spindle (Mother Marion's Spindle) for me!
I think he'd be upset if he knew I was blogging this picture. He is not happy with the way it looks as I was urging him to just "slap it together" so I could use it already! But now that he knows how it works and the proper angles, he wants to make me another one, but prettier. Okay, I can live with that! LOL First of all, the base need not be so long but it is nice and sturdy without any wobbling or moving at all. That was my only complaint about the kick spindles I've seen for sale. The bases look too clunky and unstable. He also wants to find another ball bearing to go into the upright support so that it might spin longer and faster. He wants to make it more decorative by carving designs into the kick wheel and perhaps make it more portable. Right now you can remove the spindle, whorl and kick wheel but the upright support is fixed. It was a learning experience for him and I am the happy recipient of his experiment.
Thursday, February 23, 2012
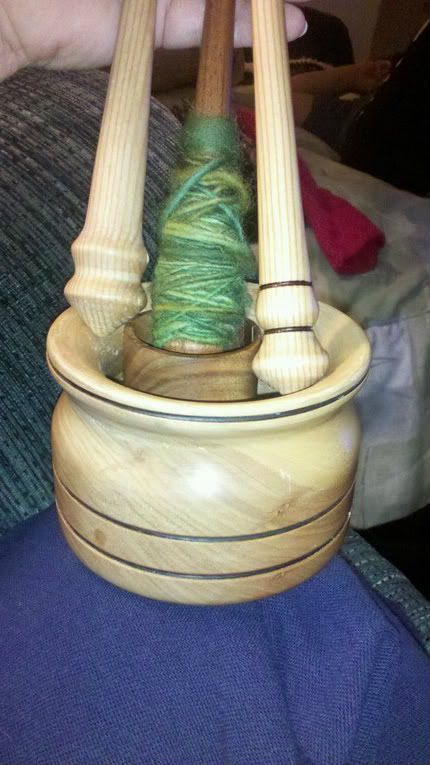
Learning to spin and new spindles
I have lunch planned for tomorrow with some friends in the vicinity of a local fiber shop that sells roving and gives spinning lessons. I can't wait to check it all out! Hopefully my drop spindle and more roving will arrive next week so I have more to practice on. I have also joined multiple spinning groups on Ravelry so I can drool over everyone else's spindles, yarn, etc.
Hon, I love you very much! Thank you for the wonderful new tools (notice I didn't say toys?)!
Tuesday, January 10, 2012
Nook Tablet Cover, not a pattern, just my measurement notes
I wanted to make myself another cover for my Nook Tablet, just like I saw on Etsy.com. I didn't want to buy one, nor did I want to pay for a pattern. The challenge is in figuring it out by myself! Here are the measurements of the fabric pieces I need to make the covers. Not a pattern, just my notes so I can make more.
Nook Tablet Cover
Inside:
2 pcs - 6.5" x 9.5"
4 pcs - 3.5" square, pressed in half diagonally for corners
1 pc - 11" x 9.5", pressed in half with 9.5" ends together for pocket
1 pc - 2" x 9.5" for closure loop
Outside
1 pc - 12.5" x 9.5"
If using a pieced front cover, make 2 pieced pieces 6.5" x 9.5" and sew along the 9.5" side
Batting of choice 14" x 11.5". I use fusible fleece.
Optional
1 pc - 11" x 9.5" for chipboard sleeve
1 pc chipboard slightly smaller than 11" x 9.5"
Thursday, January 05, 2012
Knitting & reading
I've never read Charlaine Harris until now. I thought all her books were about vampires. Dopey me. Her Aurora Teagarden mysteries are of the cozy genre and revolve around a part-time librarian, mystery buff. I read her third book first on my new Nook, borrowed free from my local library via .pdf download. I couldn't get any others this way but found the 2nd, 4th, & 5th in paperback @ my library. I'm enjoying them so far. I love being able to download free books from our library system! This is why I wanted a Nook or Kindle in the first place. I've had both the Nook & Kindle apps on my phone & computer for awhile now and like that I can read on them but my eyesight isn't so good anymore and the small print on my phone was killing me.
Thursday, December 29, 2011
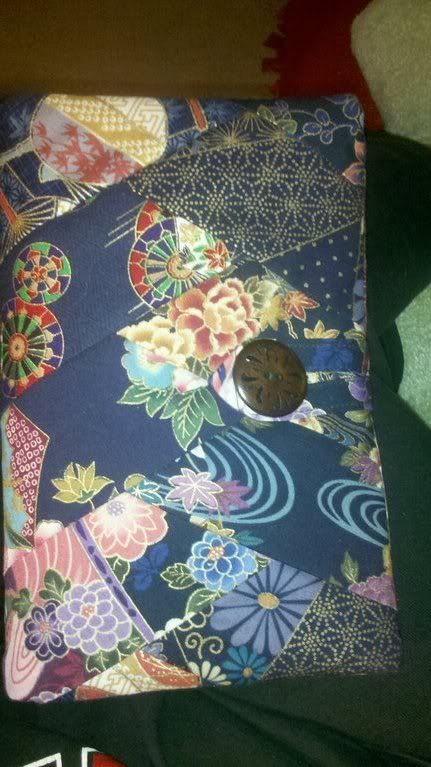
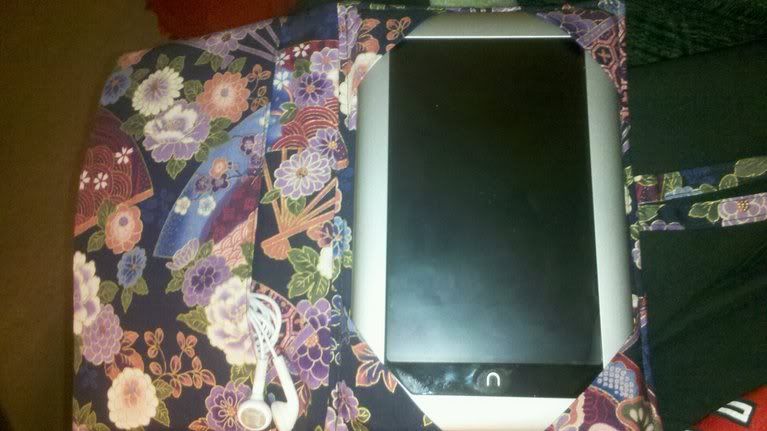
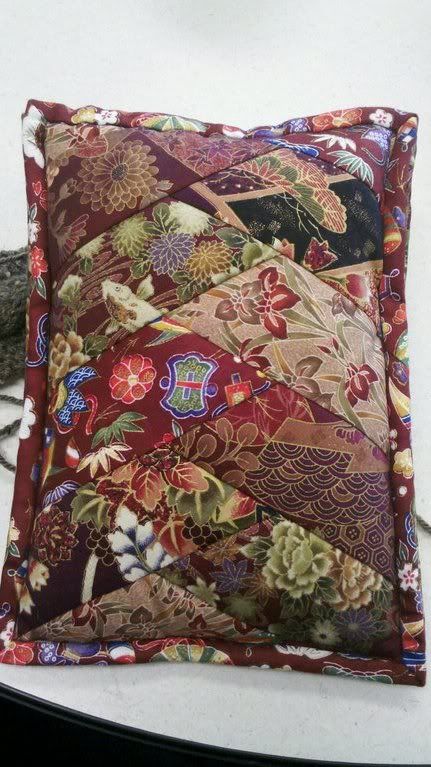
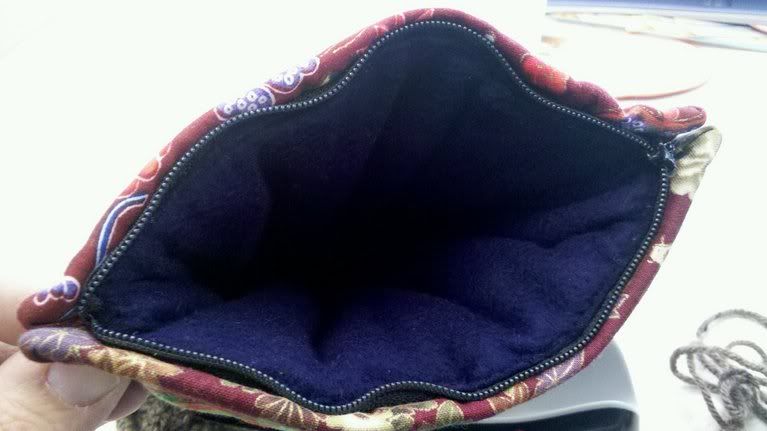
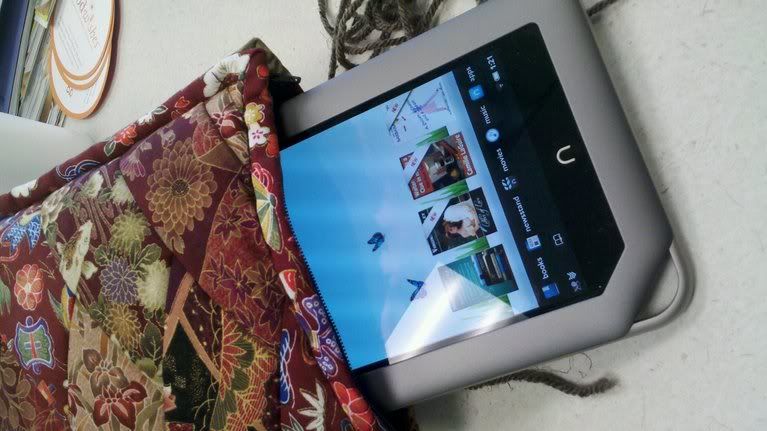
New Nook Tablet, New Quilted Nook Case...yippee
| Front of cover |
The mug rugs were already quilted and bound before being sewn together. That means that each side has three layers of batting to protect the Nook. I am so very pleased with how this project came out! My neighbor saw it and wants me to make one for her daughter's new Kindle. I hope I can recreate it!
| Inside of cover with two extra layers of quilt batting under the micro fleece liner |
| So glad I added a zipper to keep my Nook safe! |
| Back of cover with elastic to hold the Nook in place while I read. |
Monday, December 19, 2011
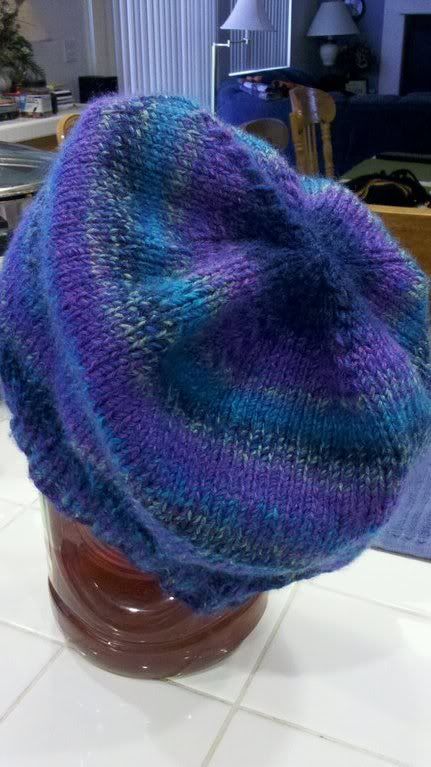
Another knit slouch hat - not so slouchy version
Lion Brand Tweed Stripes - Caribbean 3 oz., 144 yds
US sz 7 16" circular needles for ribbing
US sz 10 16" circular needles for body
Stitch markers
Row marker or safety pin
Yarn or tapestry needle
CO 96 sts with smaller needles
Work K2 P2 ribbing for 2"
Increase 16 sts evenly by *K5, M1, K1* 16 times = 112 sts
Change to larger needles and knit in stockinette until entire piece, including ribbing, measures 7 inches.
Place stitch marker every 14 stitches
Decrease row: K1, K2tog, knit to last 3 sts, K2tog tbl, K1
Knit 1 row even
Continue decreasing until there are 2 sts between markers
On last row, remove markers as you K2tog between markers.
Cut yarn leaving enough for sewing up top. Thread needle and run through all remaining stitches twice, run through all stitches in the opposite direction and cut yarn. Weave in starting tail. This hat uses almost all of the whole skein.
Sunday, December 18, 2011
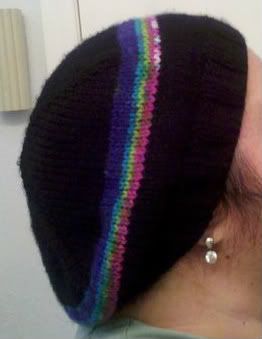
Basic knitted slouchy hat notes...non-pattern
Knit one round even between decrease rounds
Sunday, November 27, 2011
Mistake Rib Cowl In The Round
US Size 11 circular needle - Magic Loop Method
CO 56 sts
Round 1: *K2, P2* around
Round 2: P1, *K2, P2* around
Continue rounds 1 & 2 until desired height, then BO
Friday, November 25, 2011
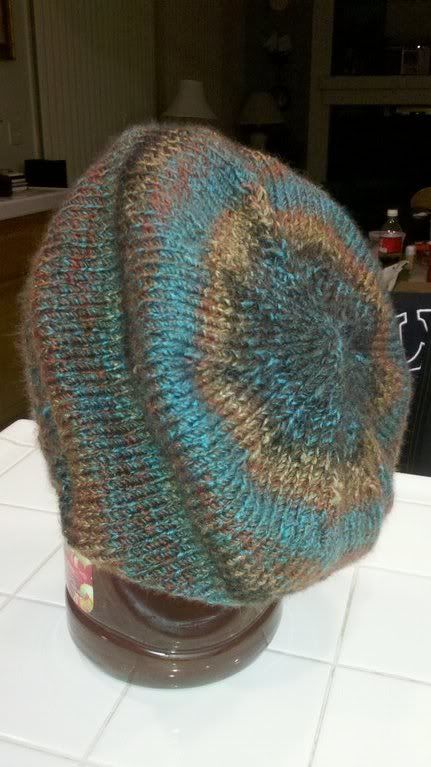
Top Down Knit Slouch Hat - just my notes, not a pattern
Top Down Knit Slouch Hat
Hat body US size 10 circular
Hat ribbing US size 7 circular
KFB=Knit in front and back of same stitch
YO=Increase one by doing a YO. **On next round, knit all YOs through the back loop to avoid making a hole.
Knit using either magic loop or two circular method
With larger needle CO 8 sts: CO 2, PM, CO 4, PM, CO 2. Put half of total number of sts on each needle and proceed with magic loop or 2 circular method.
Round 1: *KFB* around. 16 sts
Round 2: Knit
Round 3: *K1, YO, K2, YO, K1* around. 24 sts
Round 4: *K1, YO, K4, YO, K1* around. 32 sts
Round 5: Knit
Continue in this manner: *K1, YO, K X number of sts to last st before marker, YO, K1* until you have 120 sts total.
Make color changes as desired.
Knit until you have 8 1/2" from crown to needles.
Decrease round: *K3, K2tog* around. 96 sts
Change to smaller needles for ribbing. Knit K2, P2 or K1, P1 ribbing for 1 1/2 inches.
BO loosely. Use starting tail to sew up hole at the crown. Weave in ends.
*Edit: Not quite sure I like the 4 increase sections. Might try 8 so that it looks less square from the top.
Sunday, October 30, 2011
Our Friends' 25th Anniversary in Phoenix
Monday, October 24, 2011
Babycakes Cake Pop Maker
Wednesday, October 19, 2011
Tuesday, October 18, 2011
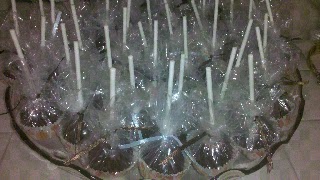
Halloween cake pops
Going to a party tonite and I offered to make these cake pops. My friend, Laura V hadn't heard of them before so I asked her to come over and help. What fun! The best part is having to "dispose" of the deformed ones! Also, dipping orange wedges into the leftover chocolate wasn't half bad.
These are made from a triple fudge cake mix, vanilla frosting, and chocolate candy melts with Halloween candy sprinkles. Yum!
Saturday, October 01, 2011
More mug rugs today
These things are addicting. They are great for trying new patterns and techniques in an immediately gratifying way. So small, so quick and very cute. I've wanted to try the braid pattern for a long time. Went into my scrap bag and pulled these fabrics out. They don't go together at all but I didn't want to waste good fabric if it didn't turn out. I'll use thinner strips next time. These were 2.5" wide. I especially like the hexie one. I started making some English paper pieced hexagons a couple of years ago, not having a grand plan for them. Glad I could use some here. The Dresden plate one was to practice my echo quilting more. The floral with the green & black borders was made to see what one looked like without binding and the others were to reacquaint myself with sewing bindings. What will tomorrow bring? If I don't join a mug rug swap, at least I've gotten a start on some Christmas presents :)