Thursday, August 30, 2012

Bento bag lunch kit

Like my friends, you may be wondering why I need a bento bag when I don't work and, therefore, don't have to pack a lunch.  I just wanted one...that's why.  They're cool!  I pack my husband his meals for work, but because he works 24 hour shifts, a bento box just isn't practical.  I usually have to pack his meals in a shopping bag!  So, my son asked what I'm going to do with my bento bag.  "I'll pack a lunch and have a little personal picnic", I said.  I can see it now.  When the temps aren't in the 100's, I can go to the park with a good book and my bento lunch. 

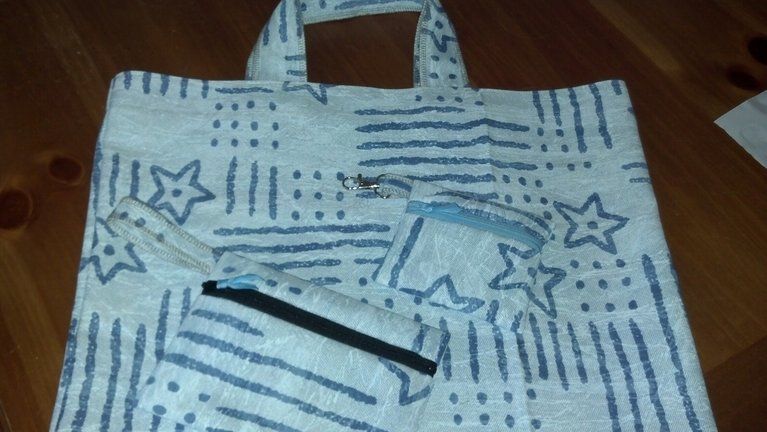
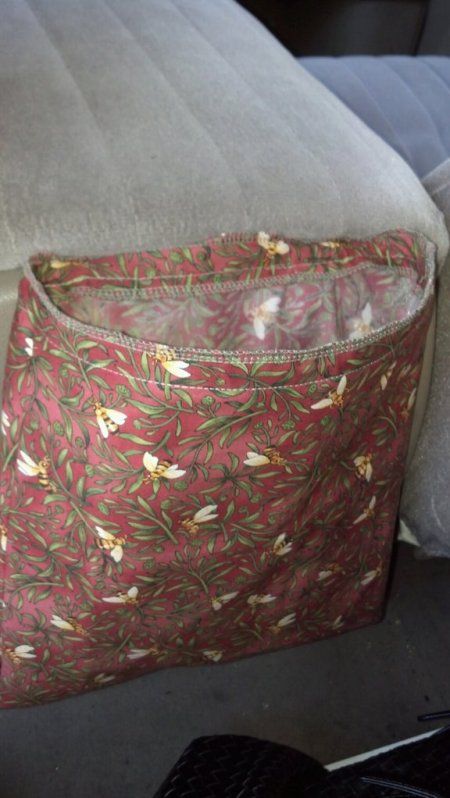
I have a container that measures 8.5"L x 5.5"W x 3" H.  I figured that I wanted it a bit more than 2x taller than my container.  My pattern pieces measured 15" W x 12" H with 3" notches cut out at each corner.  You can get instructions on how to customize your bags here.  Besides making my fully lined bag, I also made a matching napkin and a sleeve for my chopsticks which ties shut at the top.  I love it.  The colors are so bright! 


The pink and blue set were my first attempts.  I don't know what I was thinking when I cut the fabric.  I only had enough for one side of each color!  Doh!  So it's unlined and half is pink print and half is blue.  It also was meant to be like the black one, taller and with a drawstring, but I didn't realize how short it was until after I cut out the corners for the boxed corner and knew I had to add height, which wound up being 4x the height measurement of my container.  I altered it to mimic another bento bag I saw online with the ties.  It's still cute, just not what I wanted.  It's all good, though.  Now I have two kits!

My friend, Steph, and I are going to a couple of Asian markets tomorrow and I'm going to keep my eyes open for more bento accessories. 

When I was a kid, going on a field trip for school meant taking a bento lunch.  They weren't the cute things you see on the blogs.  They consisted of a bed of rice sprinkled with furikake (toasted seaweed with sesame seeds), maybe ume (pickled plum), teriyaki beef, a piece of fried chicken, and a piece of Spam.  It was perfect because it didn't need to be refrigerated and would keep until lunchtime.  Add to that a can of fruit punch or passion-guava juice that I froze the night before and it was great!  Almost better than the field trip itself!  I felt so sorry for the kids who brought sandwiches!  My field trip days are over now that my youngest son is in middle school.  Boy, I wish I had thought of this earlier!  Maybe I can persuade him to take a bento for lunch?

Friday, August 10, 2012

Grow green onions in water

I saw this idea in Pinterest.  There are several fruits/veggies you can grow this way by putting a slice, pit, root end, etc in water rather than throw them away.  I think we all did this with potatoes, avocados, or beans when we were kids, right?  I bought these green onions at a local farmer's market three weeks ago and have already cut them down three times!   


Saturday, August 04, 2012

Tote bag and zippered pouches

The first pouch is a gift for my sister, Gina, for her birthday.  I enclosed a pair of silver earrings and gave them to her while she was visiting last weekend.  She requested a matching velcro closure cash envelope/wallet, which went into the mail to her on Thursday.  I got the idea for all three pouches from this video on YouTube:


I was gifted this denim fabric (below) from my neighbor and wasn't sure what to do with it until the other day when my friend, Pat, came over for a playdate.  I love our playdates!  We usually have so much fun visiting that we don't get very much done.  I showed her how to make the velcro closure cash envelope/wallet (not shown) and we made one of these pouches.  I made her a tote bag to take home and made mine and the two matching pouches after she went home.  I just wanted to show her how much I can do on my serger and how much I'm enjoying it so far.  I've had it for 3 years and only used it once right after I got it.  My poor husband kept asking why I wasn't using it.  It scared me!  So, knowing this, when Pat bought a new embroidery machine and started taking classes on it, she asked her sewing teacher to show me how to use my serger.  One class and I've been hooked since!  I have my second class in two days.  She's going to show me how to do a narrow rolled hem.   I'm so excited!  I see a lot of cloth napkins and scarves in my future!

Anyway, the pouches are lined, unlike the ones in the video and all raw edges are serged.  I prefer to sew the zippers on by machine rather than serger because I don't like the idea of my serger knife cutting the zippers since I've been making a bunch of these pouches. 


Car trash bag

I've been trying to rework this concept over and over in my head.  This is just a prototype and as we speak I have ideas to make it better.  It fits a one gallon zip lock bag, which when turned inside out, creates a stiff rim at the top.  What I really wanted was for the hem that turns inside the bag to be longer and have some stabilizer attached so that when a zip lock bag is inserted inside the holder, the hem will keep it in place.  As it happened, the hem is too short and I didn't have any stiff Pellon stabilizer when I sewed this.  I even considered using boning around the rim but it doesn't seem to need it.   The inside out zip lock provided enough stability to keep the bag open but I actually machine basted the bag inside the holder.  I can remove the plastic bag with just a few snips if needed.  It's not what I wanted, but for now it will do the job.  It is tied to the underside of the lid of the center console of my truck to keep it in place.  Oh well, back to the drawing board.